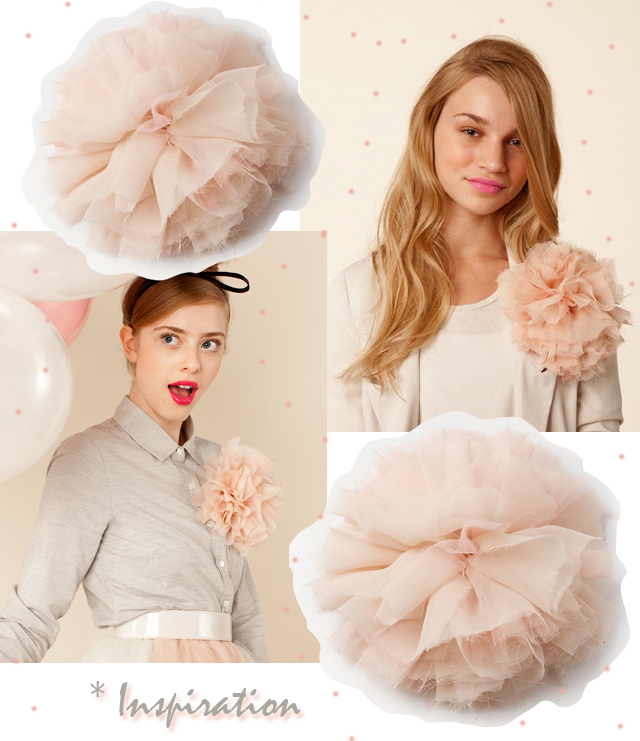
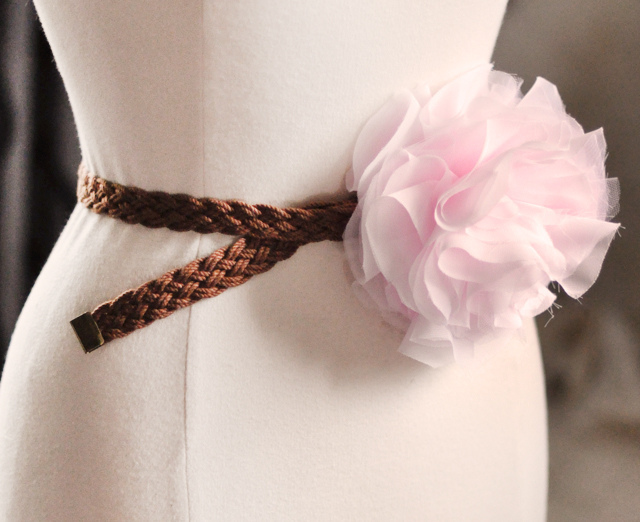
French Pouf Accessory : Pin, Belt, Hair from Ban.do
Okay, to be honest, this wasn’t exactly a reader request MIY but when Holly {who is planning her wedding} posted about it here, I was very inspired to make it for her as a little wedding gift. But since I couldn’t find the exact peachy-nude chiffon as shown in the inspiration photos I had to settle for a soft, baby pink, which Holly may not be interested in. So Holly, if you like, I can make you one in either an ivory or a light gray. It’s up to you.
Here’s What You’ll Need…
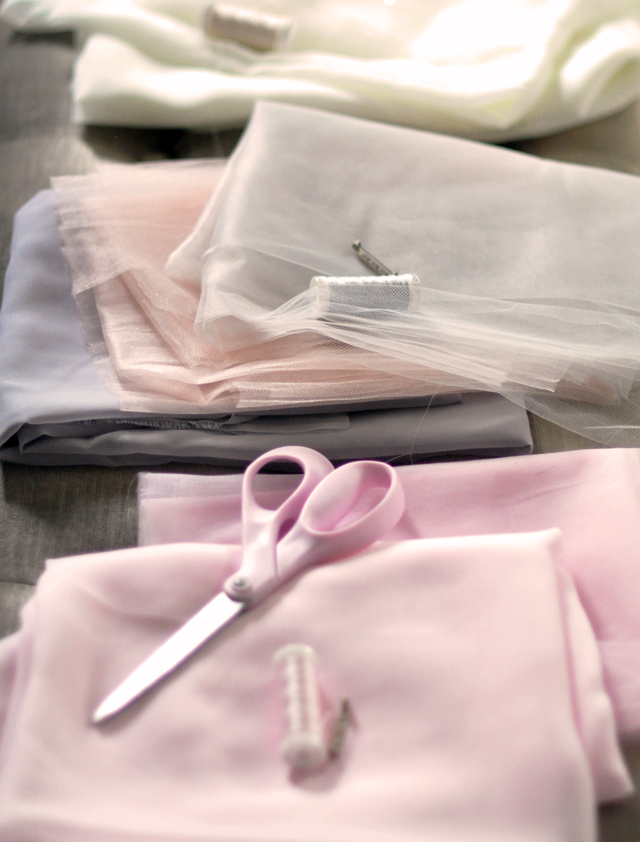
* Half a yard of chiffon fabric in color of choice.
* Half a yard of tulle {you’ll use less}
* Scissors
* Matching thread & a needle
* I pin back
Steps…
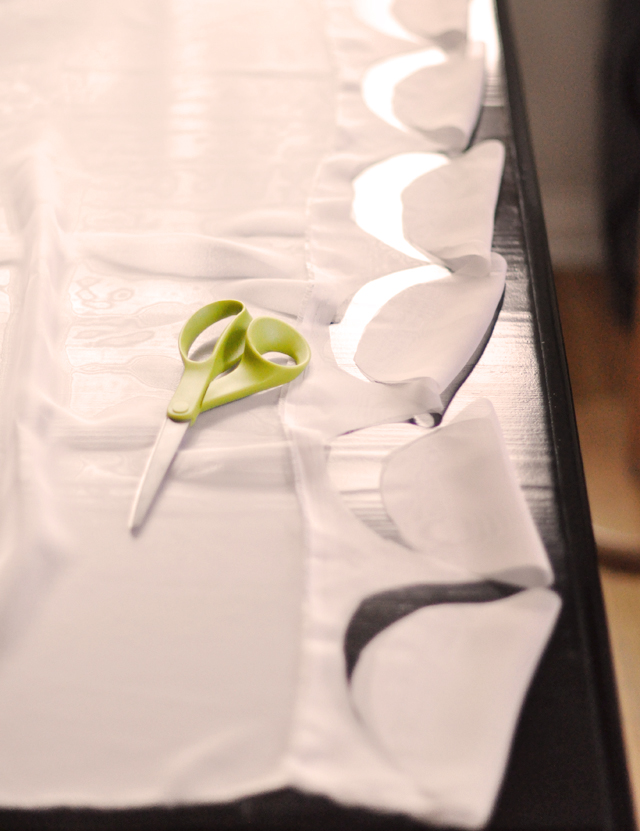
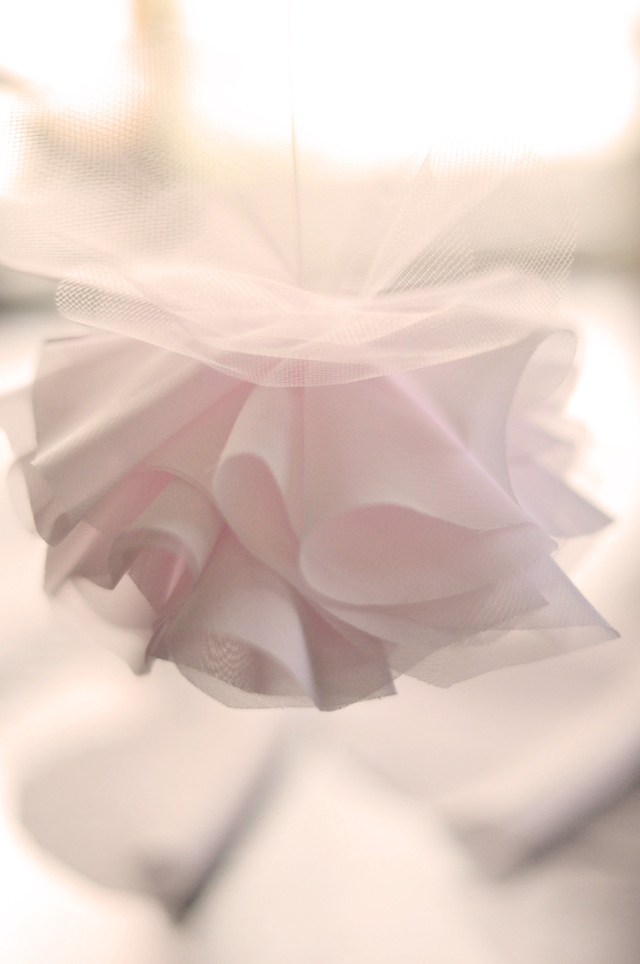
* Create Circles by folding the edges of your chiffon & tulle over about 3 inches {The original flower is 7″ diameter so I made mine the same. If you want your flower smaller, then create smaller circles} and cutting half circles. They don’t have to be perfect . . . note: we want the ends to fray a little to give it a little vintage romance.
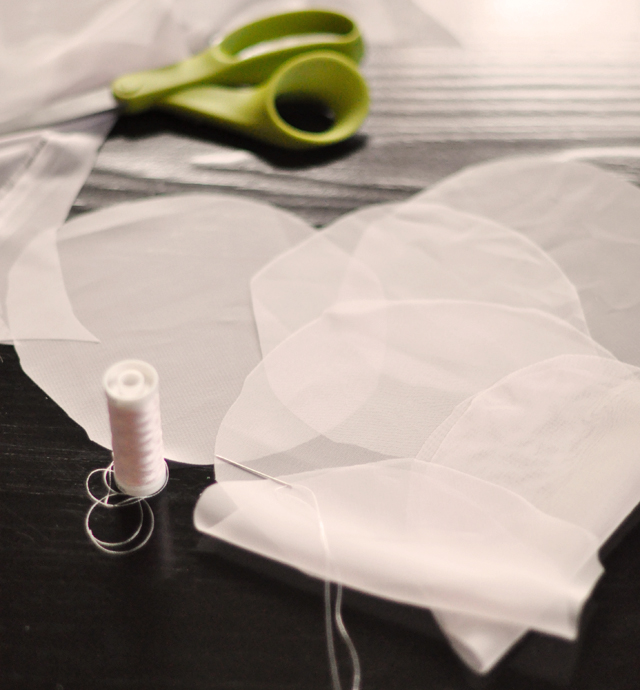
* I used about 28 chiffon circles {half of one yard of fabric} and between 10-14 tulle circles.

* Fold your circles in half …then in half again, but not perfectly. . . stitching in place one at a time then . . .
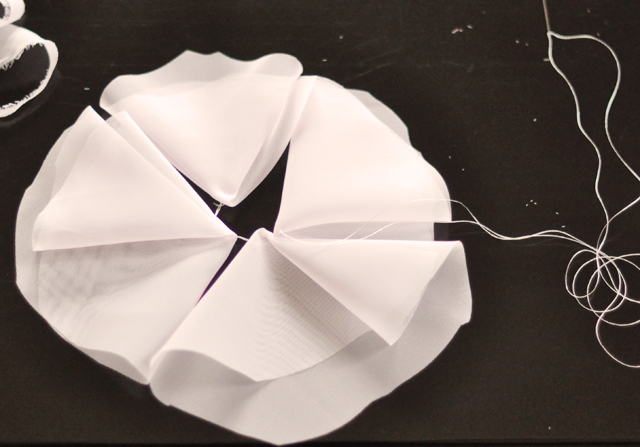
* Run a stitch through each of them, forming a pseudo-circle.
* Continue overlapping circle/triangles of chiffon and tulle in between. You can pinch them and gather them a bit at the center/base with your stitches. {it’s a bit like my petal DIYs actually here, here, here, & here}
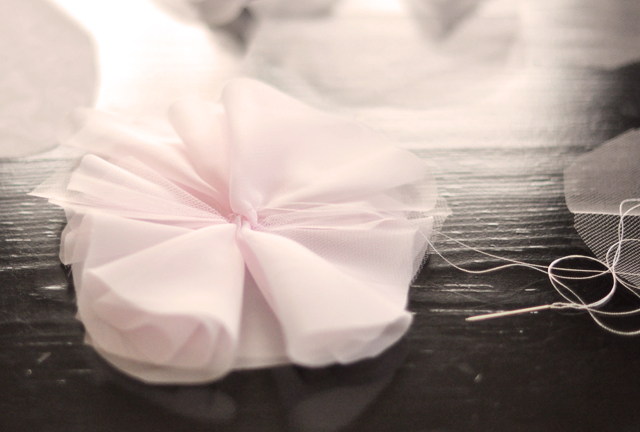
* Keep layering your circle pieces in until you can’t really see spaces between them.
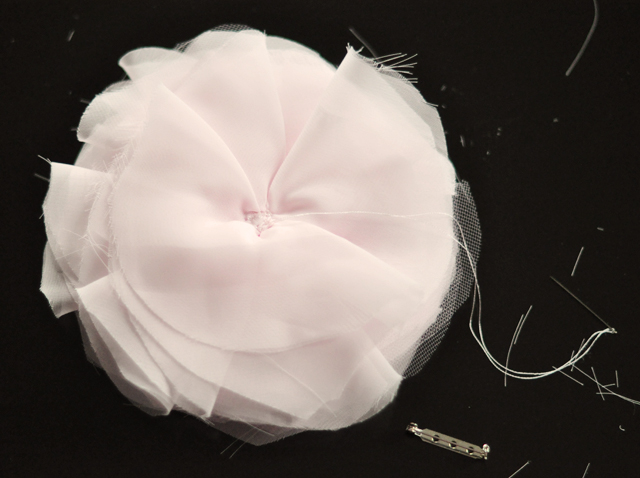
* Keep your stitches to the center of the flower …and some overlaying pieces can be stitched to each other instead of all they way down the base, but intersperse them. This is what the back should look like.

* Hand stich your pin backing to the center of the flower. You may choose to stitch or glue {if you must} a small circular piece of felt to the back then stitch or glue {if you must} your pin back to that. But I preferred to just stitch it directly to the flower.
And… Voila!
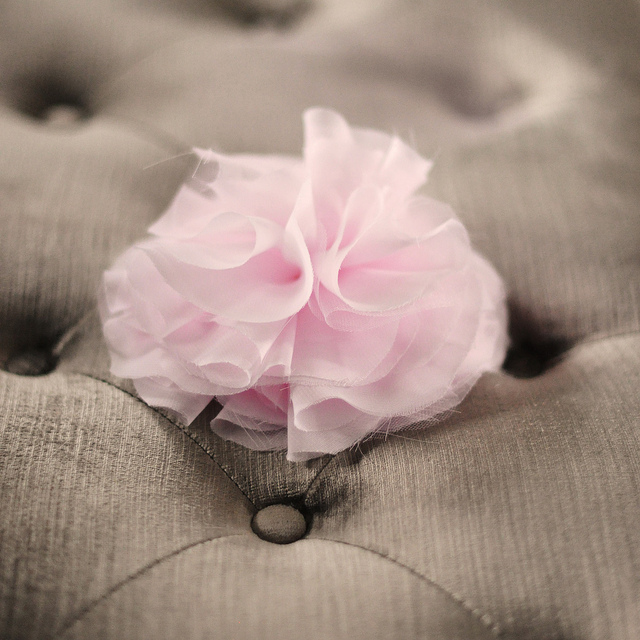
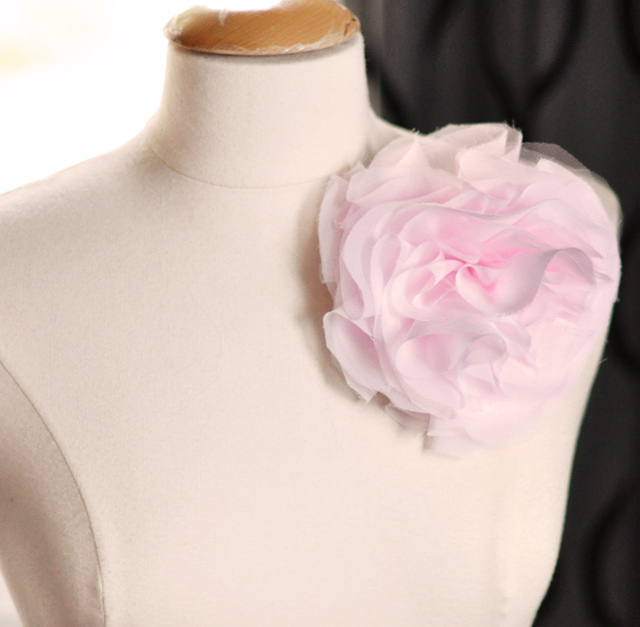
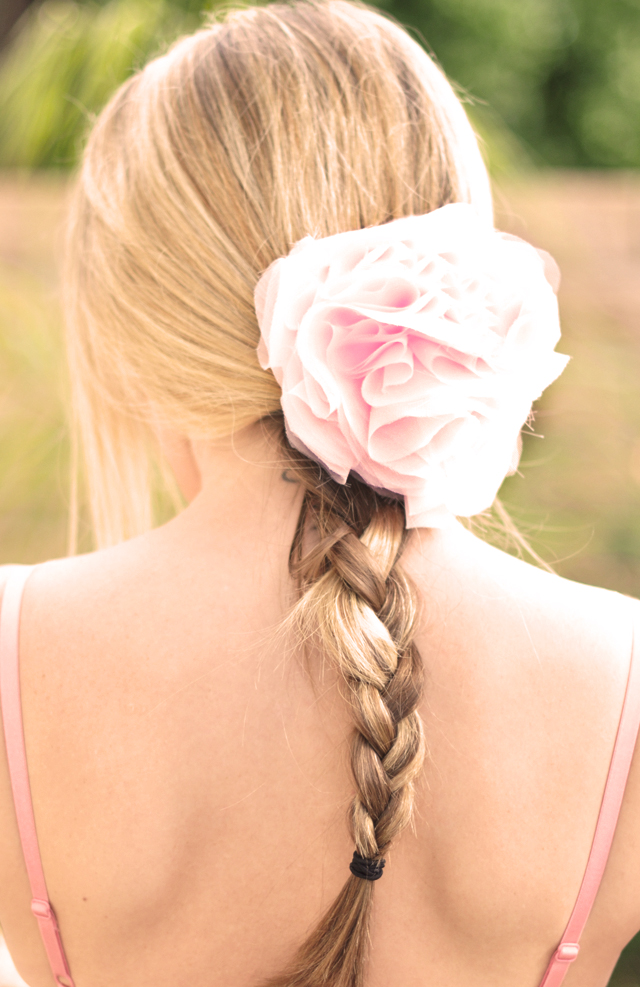
…slide a few bobby pins through the pin back and your hair…
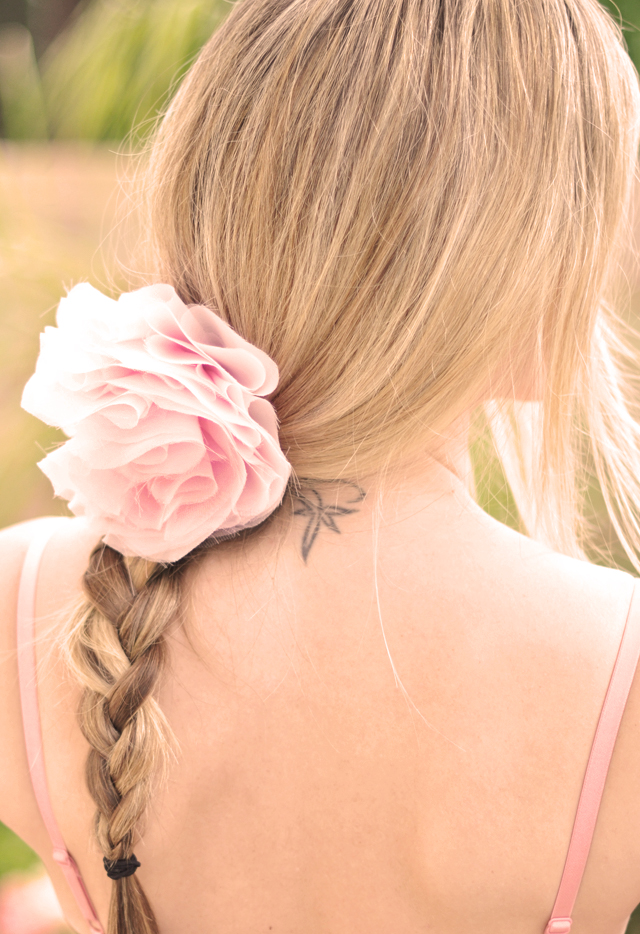
Have Fun!
* Find all my DIYs here