
My cousin/BFF is getting married in November and I am her maid of honor {sorry, MATRON of Honor}, obvs ;). After chatting on the phone last week simultaneously looking online at bridesmaid dresses, we set up an appointment to try a few on. And just to be sure the bridesmaid's dresses were consistent with the bride's, she tried on her dress too. And ya know what? It really helped because we fell in love with a dress online, and while it was very pretty and flattering, the design and drape of the dress just did not match the style of the bride's. I suggest any bride do the same if she has the opportunity to.

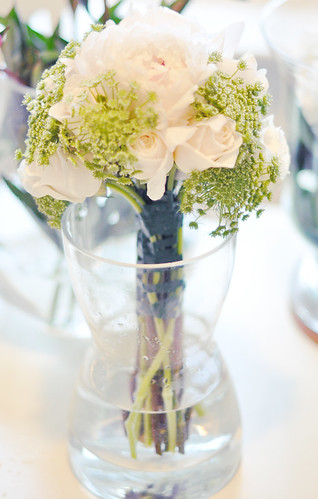
Her main color is a deep red and her gown {which she found and fell in love with at David's Bridal} is a really really pretty and very dramatic ivory satin. However, she wasn't quite sure what color flowers she wanted in her bouquet so I thought I'd make up a few mock bouquets so she could get a real feel of what it would look like as well as see what the bridesmaids should carry ...and it ended up being extremely helpful in her decision making.


And obviously, I documented it just in case you wanted to do the same. {I made my mom's bouquet back in May 2008 for her beach wedding ceremony but that was before I was posting diys here. You can click here to see the post though and the bouquet}
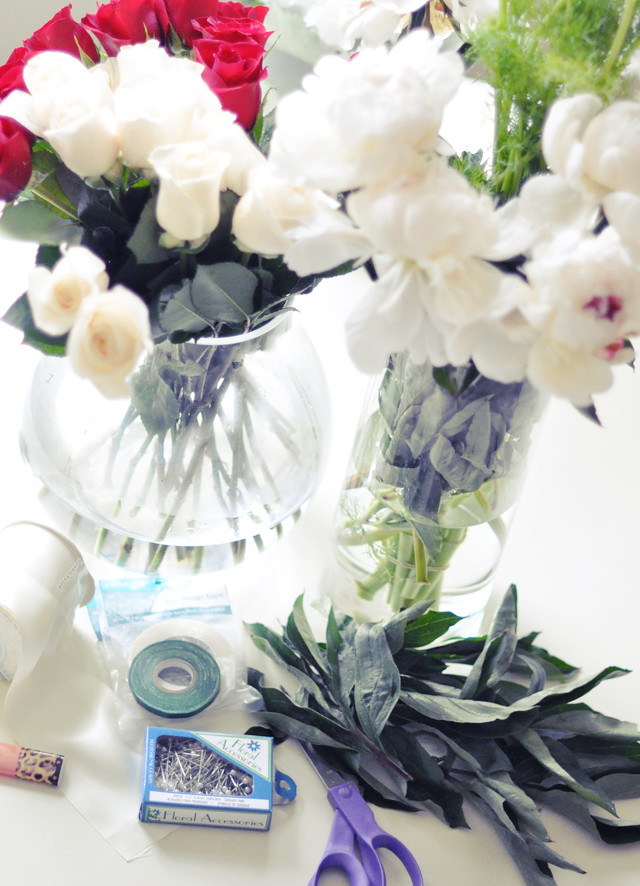

* Flowers of choice
* Waterproof Floral Tape {I used 1/4" tape} and White floral tape {I actually can't remember the exact term for the white tape} Found all items needed at local JoAnns Fabric
* Scissors
* Ribbon of choice & a lighter to singe the ends. I used 2-1/2" ivory satin but in the past I've used 1" satin ribbon. With smaller ribbon, you need more pins down the shaft ;)
* Floral Pins


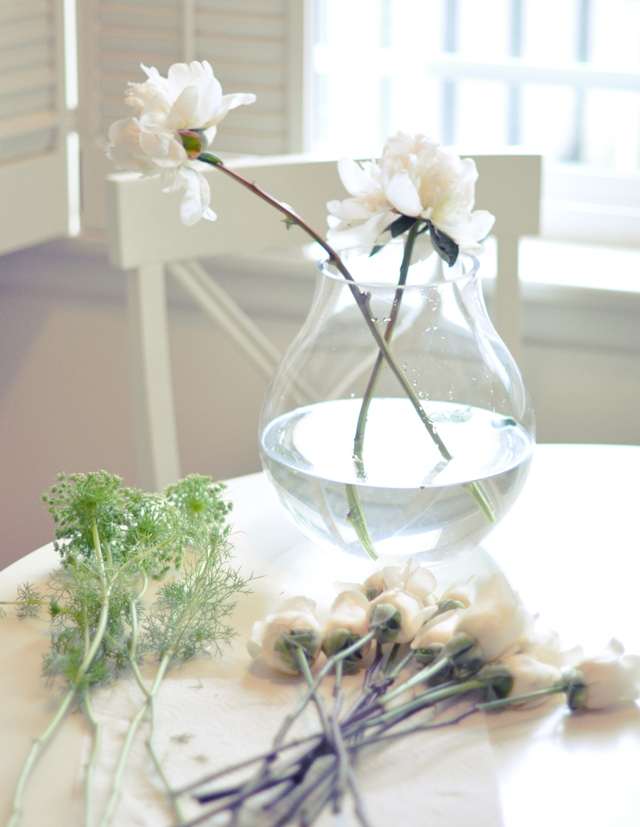
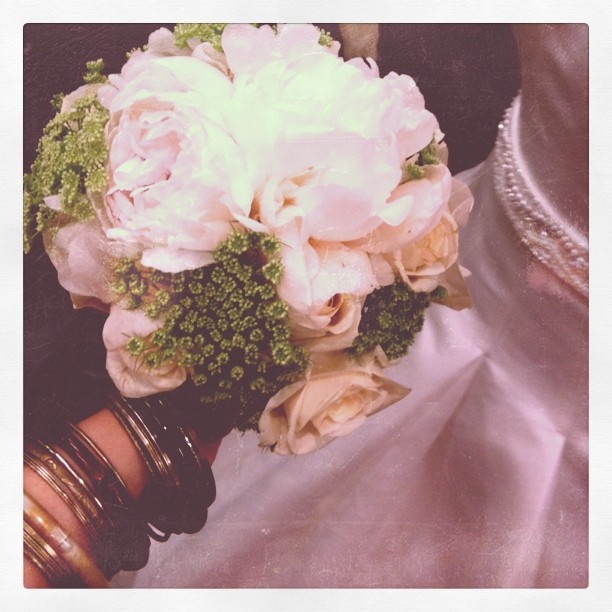
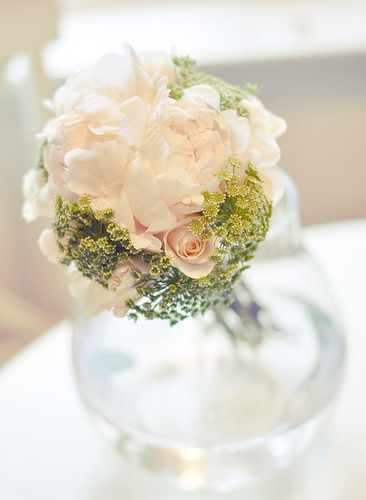
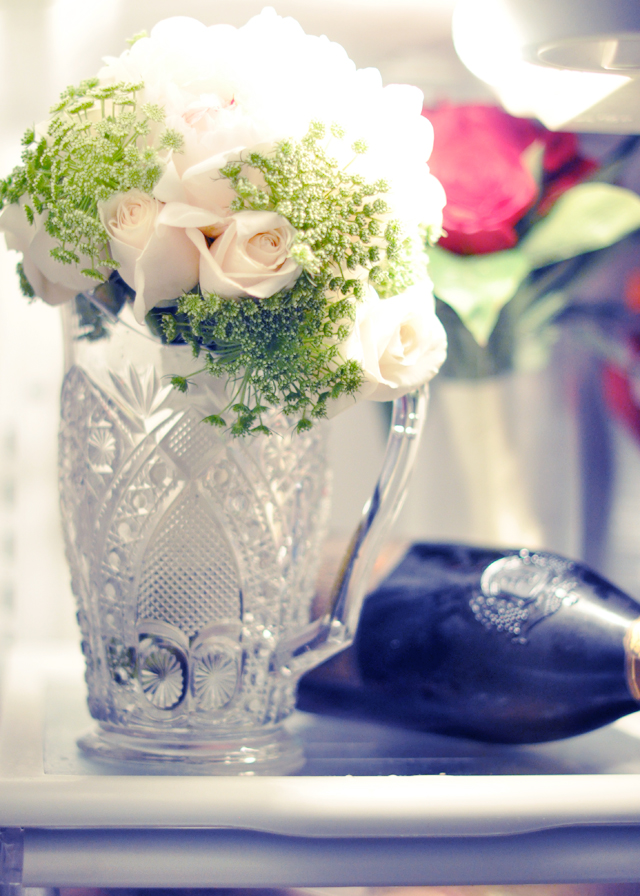
* Remove leaves from stems. For this bouquet I used 2 Peonies, 12 white Roses & Queen Anne's Lace {or it may be Green Mist}

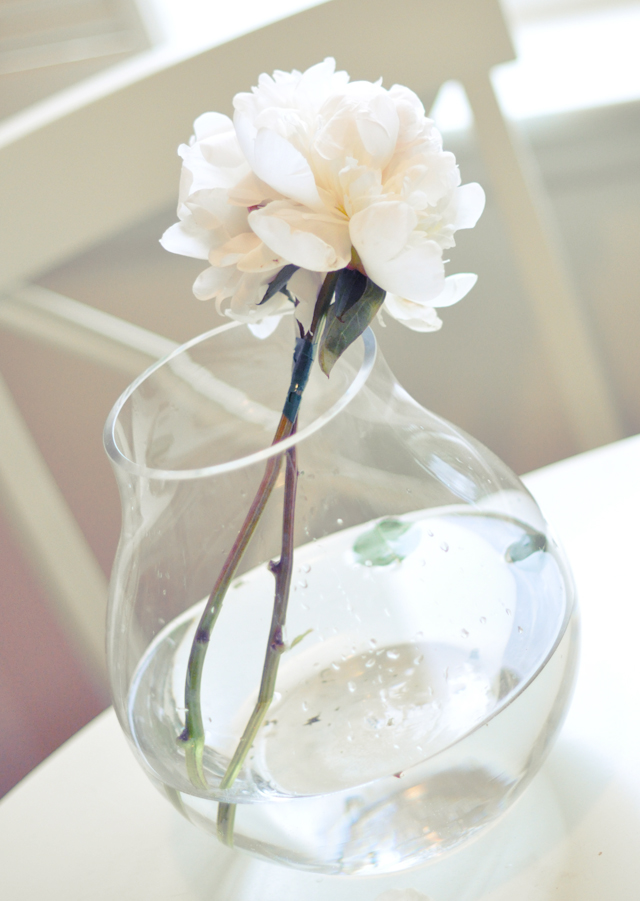
* Beginning with the flowers you wish to use in the center of your bouquet, and using your green/waterproof floral tape, bind them together.
* You will start center and work your way out.
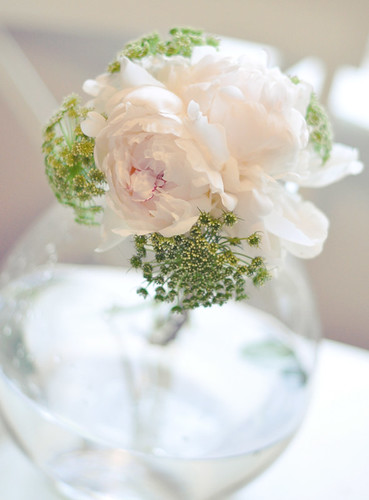
* I've filled in the nooks and cranny's with Queen Ann's Lace {or maybe it's Green Mist ...I'm not sure} and taped it all together. Above is the side and top view of this step.

* Next I added two white roses in between each set of Queen Anne's Lace and taped it together. Above is the side and top view of this step.

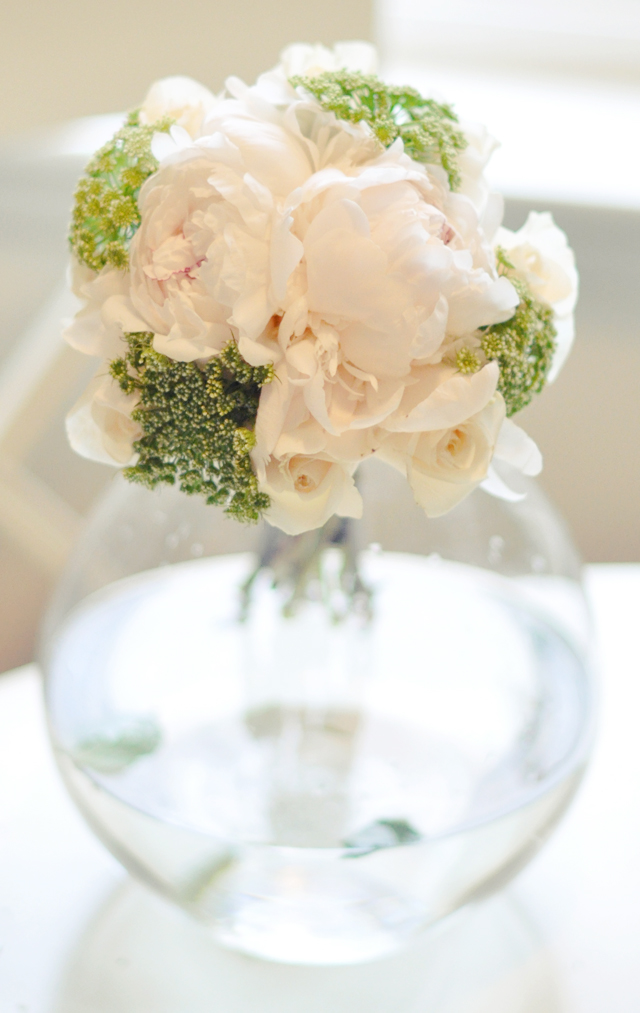
* I then continued to add the green Queen Anne's Lace and white roses to fill in the rest of the open areas and also leveling down to create a round feel ...and taped together. I would have like 2 more sprigs of the Queen Anne's Lace to completely fill in the spaces along the bottom but I ran out. Again, side and top views for this step above.
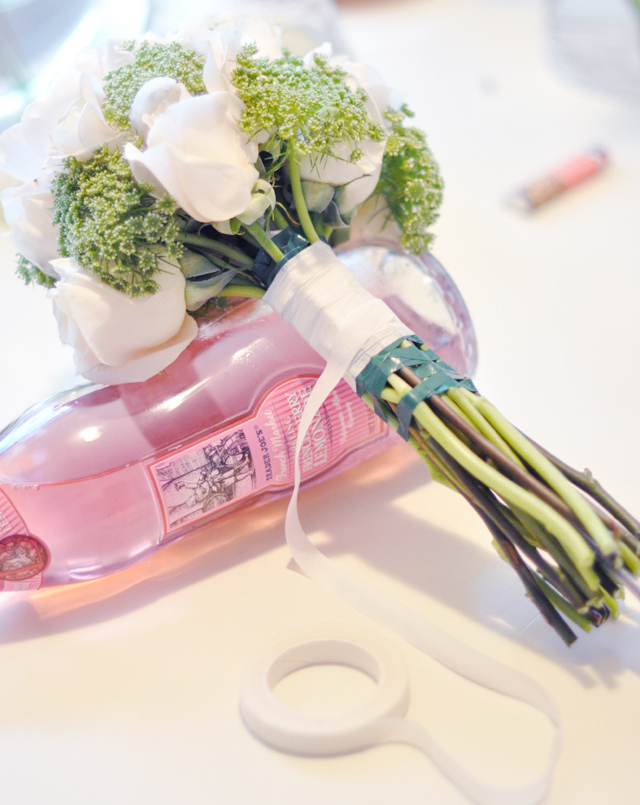
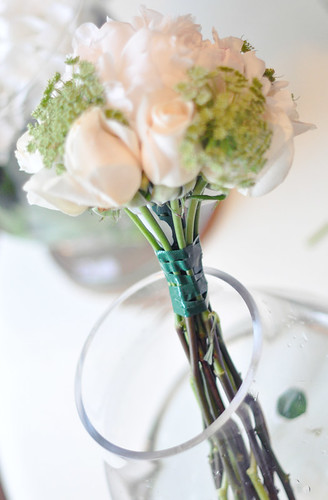
* Using the white tape, wrap or "mummify" the the base, covering all the green tape and creating a bit of a thicker handle.

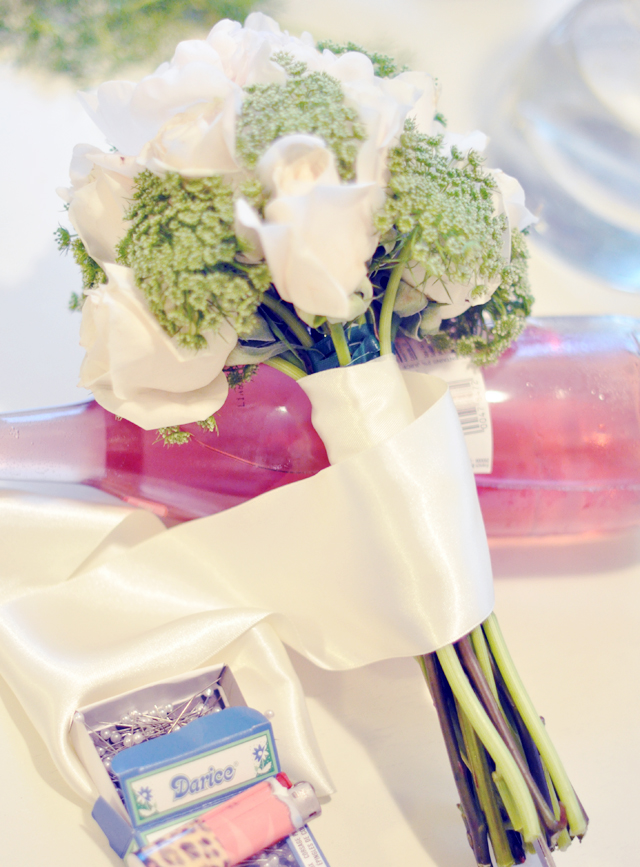
* Using your ribbon, begin at the center, wrapping up then all the way down. Use pins where necessary but in a pleasing manner. With smaller ribbon, you'll use them in a straight row down but with this large ribbon, I used a few at the top and then created a little design at the bottom to hold it in place.

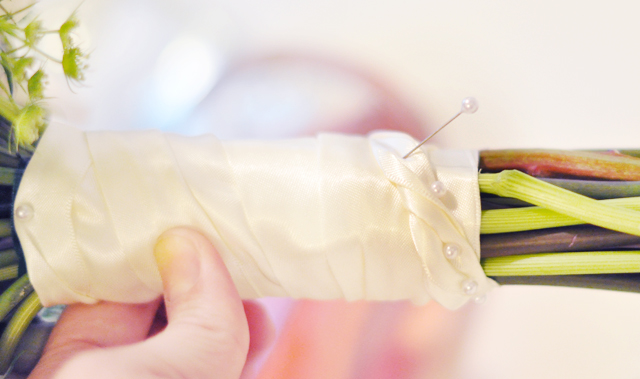
* When pinning from the bottom, push in and UP ...and when pinning from the top, push in and DOWN to secure ribbon but also so your bride doesn't have bloody hands from pin pricks ;)

* Cut stems to desired length.

* Best to do it the same day to avoid wilting but they'll keep overnight if you refrigerate them.

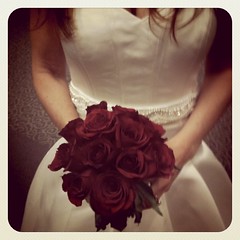
A bouquet of solid red roses is easier because there is no variation. You go about it the same way but begin with 3 for your center and work out and grade down from there. I used the leaves from the Peonies at the bottom which I LOVED but since they had short stems, wilted and drooped by morning. I loved the dramatic yet wild effect the leaves gave it.


What's funny is that Kell had the exact same idea and brought her own little make-shift bouquets of fake tulips and roses ...bffs think alike.


Spring Nails: Marbled Easter Pastels
DIY Pretty Paper Flowers Mirror
No-Sew DIY: Turn a Scarf into a Vest
Green Speckled Nails
Soft Pretty Waves... Hair Tutorial
DIY Gift: Custom Painted Initial Canvas
DIY Cropped Tank from a Tshirt
Feather Wall Art DIY Juju Hat
Paint Your Shoes with Nail Polish
Metallic Nails Trio
No Heat BIG Curls Hair Tutorial
Pretty Embellished Collar DIY
DIY Hanging Chains Headband
Berry Lace Nail Art Tutorial
Lace Socks DIY
Waterfall French Braid Hair Tutorial
How to Refashion Old Shoes
DIY Hair Accessoies & More!
Miu Miu Glitter Sneaker DIY
Messy Rope Braids Half Up Hair Style
Glitter Tipped Nails DIY Manicure
DIY Tom Binns Style Necklace
Low Side French Braid Hair Tutorial
Glitter Cap Toe Shoes DIY {for kids}


35 comments:
Looks great Maegan! I love how there is a little personal story behind every one of your posts (even the DIY ones)
xxx,
Fashion Fractions
After having seen yor post talking about your mother's wedding I felt bright tears eyes!
It's not only a simple diy tutorial, you put a little piece of you in all that you write, that's why I absolutely adimire you!!
silvia
We used Queen Ann's Lace at our wedding. :) Your bouquets look beautiful! You are the DIY queen.
how freaking awesome!!
Wow, you're the best MOH there ever was! I love that red dress on you!
I'm definitely going to remember to check out your wedding DIYs when I get married... I have to get engaged first, of course! Lol!
xoxo
Mel
Great post! Thanks so much for sharing! The flowers look gorgeous!!
The white peonies and roses (two of my favorite flowers) seriously look gorgeous! Paired with the green Queen Ann's Lace (or Green Mist) was a beautiful choice.
xoxo,
Anne
http://www.ayanadesigns.com/
She looks a bit like Kate Middleton! Beautiful! What a very professional DIY! Have a wonderful week, Sunshine!
maybe I'm a lil bit old-fashion-y, but if the MOH is married, isn't she the MATRON of honor? Yeah, it gives me the screaming mimis too...
So that's why I saw you buying those gorgeous peonies on Saturday. LOL. The bouquets look great & that color looks really pretty on you.
LOL Anonymous, maybe ...ahhahaha
hahaha...you WILL be the Matron of Honor! You married old lady. lol. Which bouquet did she like?? I'm dying to know.
This is so incredibly beautiful!
love love love this! i wish i had somebody to help me out and do this for my wedding. florists are SO overpriced!!!
sarah
www.sarahslaundy.com
This is just Gorgeous!
jemappelleshen.wordpress.com
Wow, these are beautiful!! You're amazing!! :)
http://sweetandsassy-sherry.blogspot.com/
that peony bouquet is amazing and beautiful. what i wanted but not what i got.
This is simply simply simply awesome.
Amazing, I love it!
Xxx
Join my giveaway!
www.nathalie-loveforfashion.blogspot.com
that is a gorgeous bouquet! i LOVE queen anne's lace. it grows wild where i'm from and i wanted to incorporate it into my wedding flowers...but my mom kept saying "it's a weed!" whatev.
If I were her I would totally beg you to do my flowers!!! You are such a sweet friend to do this for her and how wonderful that you both had the same idea. BTW...you look awesome in that red color!
you're like a more approachable and a much younger version of Martha Stewart. Love the wedding bouquet, so pretty. love the red velvety dress as well.
You are so amazing!! I only wish I would have had this when I got married last year!!! Your dress is beautiful!!
Just curious, where are you getting the peonies from in the LA area? I keep hoping my trader joe's will bring some in, but I'm always disappointed. :(
Gorgeous bouquets. Queen Anne's Lace is one of my all-time favorites.
You are a talented lady. Glad to have found your blog :)
aaaah!!!! LOVE that bouquet!!! what a great tutorial!!
This came right on time honey:) I just called my crafty friend last night and gave her the task of making my bouquet for my "non wedding" (long story...it really is wedding...I'm just surprising everyone by doing a quick "I do" at the reception/party....instead of babies throwing petals and mommas strolling down the aisle looking like the Queen.)
Anywho...I just emailed this diy to her:)
Thank you:)
This is an amazing guide with beautiful pictures! Would you be open to allowing us to feature you on our post about: DIY Wedding Bouquets
菁英全民英檢補習班 全民英檢 GEPT 全民英檢考試
全民英檢高分 英檢
全民英檢補習班 全民英檢 GEPT 全民英檢考試 全民英檢高分 英檢
全民英檢補習班 全民英檢 GEPT 全民英檢考試 全民英檢高分 英檢 全民英檢課程
全民英檢補習班 全民英檢 GEPT 全民英檢考試 全民英檢補習班 英檢 全民英檢報名
全民英檢補習班 全民英檢 GEPT 全民英檢考試 全民英檢網 全民英檢高分
全民英檢補習班 全民英檢 GEPT 全民英檢考試 全民英檢網 全民英檢高分 全民英檢成績查詢
全民英檢補習班 全民英檢 GEPT 全民英檢考試 全民英檢網 全民英檢高分
全民英檢補習班 全民英檢 英檢 GEPT 全民英檢高分 全民英檢初級 全民英檢中級 全民英檢中心
菁英TOEFL 托福 TOEFL補習班 TOEFL iBT TOEFL考試 TOEFL成績 TOEFL報名 TOEFL課程 托福補習班 托福考試 托福成績 托福報名 托福課程
TOEFL 托福 TOEFL補習班 TOEFL iBT TOEFL考試 TOEFL成績 TOEFL報名 TOEFL課程 托福補習班 托福考試 托福成績 托福報名 托福課程
TOEFL 托福 TOEFL補習班 TOEFL iBT TOEFL考試 TOEFL成績 TOEFL報名 TOEFL課程 托福補習班 托福考試
菁英TOEIC 多益 多益高分技巧 多益補習班 多益考試 多益成績 多益測驗 TOEIC補習班 TOEIC 考試 TOEIC成績 TOEIC報名 TOEIC課程 TOEIC 多益 多益報名 多益單字 多益分數 多益考古題 多益題庫 TOEIC補習班 TOEIC 考試 TOEIC成績 TOEIC報名 TOEIC課程
TOEIC 多益 多益高分技巧 多益補習班 多益考試 多益成績 多益測驗 TOEIC補習班 TOEIC 考試 TOEIC成績 TOEIC報名 TOEIC課程 TOEIC 多益 多益高分技巧 多益補習班 多益考試 多益成績
菁英雅思高分技巧 IELTS 雅思 IELTS補習班 IELTS考試 IELTS成績 IELTS報名 IELTS課程 雅思補習班 雅思考試 雅思成績 雅思報名 雅思課程 雅思 IELTS 雅思補習班 雅思考試 雅思成績 雅思報名 雅思課程 IELTS補習班 IELTS考試 IELTS成績 IELTS報名 IELTS課程 IELTS 雅思 IELTS補習班 IELTS考試 IELTS成績 IELTS報名 IELTS課程 雅思補習班 雅思考試 雅思成績 雅思報名 雅思課程 IELTS 雅思 IELTS補習班 IELTS考試 IELTS成績 IELTS報名 IELTS課程 雅思補習班 雅思考試 雅思成績 雅思報名 雅思課程 雅思 ielts ielts寫作 雅思考試 ielts writing 雅思考試日期 ielts補習班 雅思 ielts 雅思考試 ielts考試 雅思考試日期 雅思測驗 IELTS 雅思 IELTS考試 雅思考試
日本打工度假申請、免費幫你留日代辦。同時還有許多遊學團的優惠,讓你學完補托福,
雅思, 多益, 全民英檢, 日文會話, TOEFL , TOEIC, IELTS, GEPT,之後能夠學以致用。GogoJapan提供東京日本語學校長沼學校、JET日本語學校、
CBC外語商業專門學校、EASTWEST日本語學校、新宿日本語學校等多個日本語言學校,讓你一圓日本留學夢。
選擇托福, 雅思, 多益, 全民英檢, SAT, 日文會話, TOEFL, TOEIC, IELTS, GEPT, 就找最專業的英文補習班:菁英英語補習班。
I enjoyed reading it. I need to read more on this topic...I admiring time and effort you put in your blog, because it is obviously one great place where I can find lot of useful info..
Post a Comment