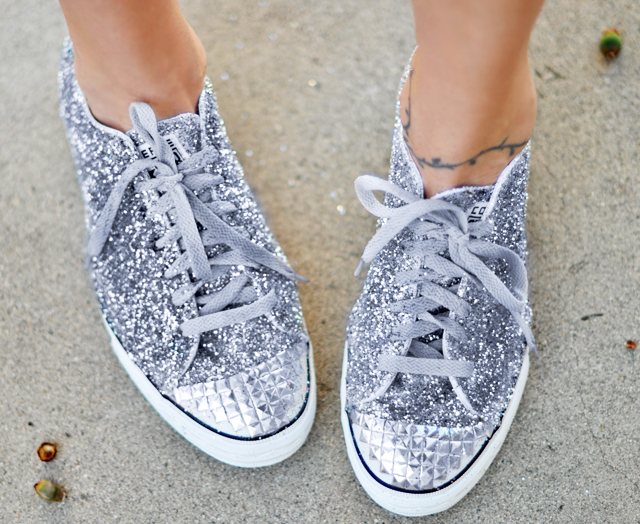
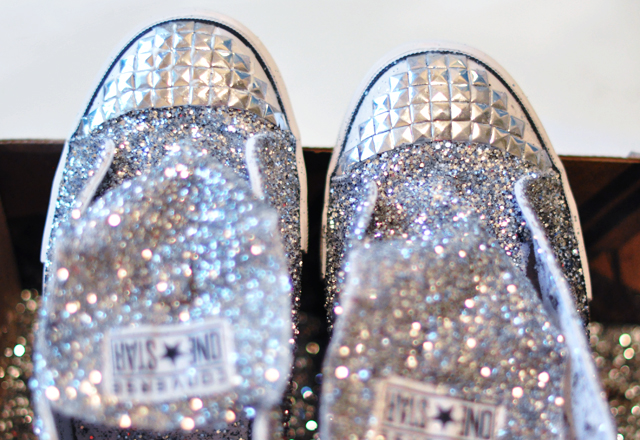
When Target approached me about a Converse One Star DIY challenge I couldn’t resist, but it wasn’t until I saw these Miu Miu glitter sneakers that I had any clue how I was going to give my white sneaks a personality all their own. DIYers have been glueing glitter to their shoes for decades! The most challenging part of this DIY was figuring out what material I was going to use to create the steel toe. I was thrilled to find the little pyramid studs in my own craft closet to complete the look. And though I leave a little trail of fairy dust behind me wherever I go, I have to admit, I love the way they turned out.
Here’s What You’ll Need…
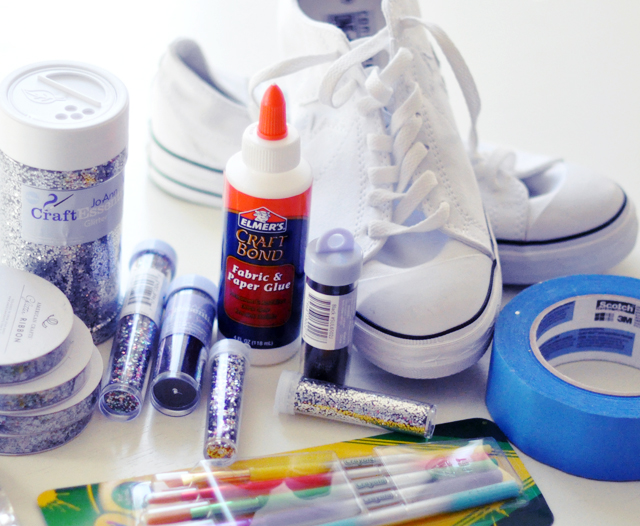
* Converse One Stars from Target $34.99 – courtesy of Target
* Fabric glue and/or MOD PODGE
* I used Crayola paint brushes to apply the glue.
* Silver glitter {I bought an 8oz jar but only used 1/4″ of it. 4oz is plenty.
* Fine glitter in black
* Painter’s tape
* Iron-on silver pyramid studs {which I can’t seem to find online}=
Steps…
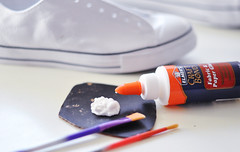
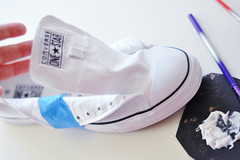
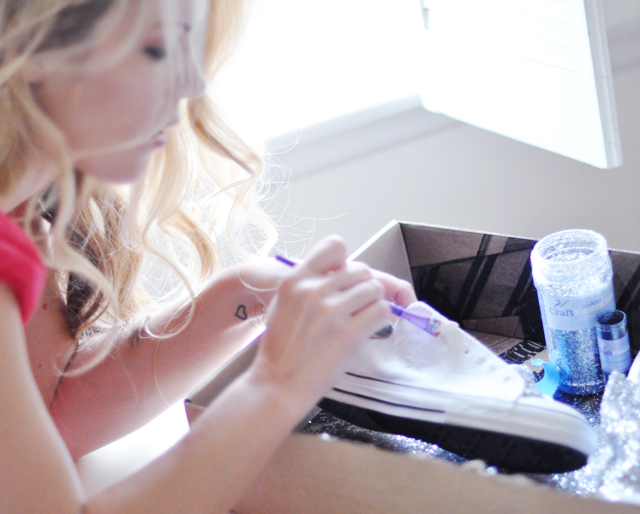
* Squeeze a large amount of fabric glue into a cup or plate. Tape down the sides of your sneakers with your painter’s tape. Using a paintbrush, apply a moderately thick layer of glue to the tongue of your shoe.
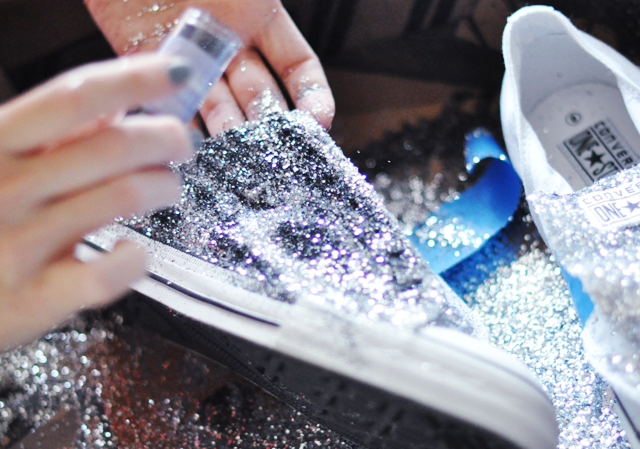
* Place your sneaker in an open box and sprinkle a generous amount of glitter over your glue.
* Once your tongue is almost dry, remove the tape from the sides of your shoe and apply a generous layer of glue to your sides. It’s best to do one at a time because the glue dries pretty fast.
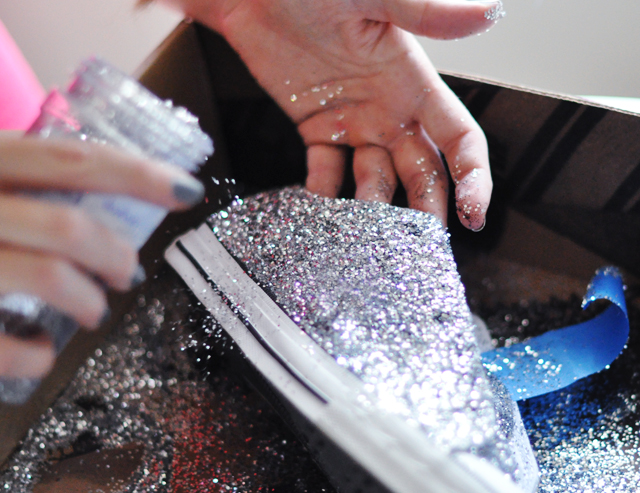
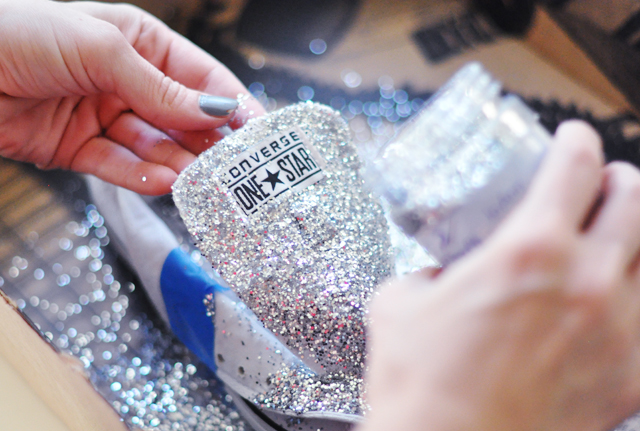
* Sprinkle your larger silver glitter and shake to remove excess.
* Since I was trying to mimic the charcoal silver Miu Miu shoes, and couldn’t find dark silver glitter, I added fine black glitter on top of my large silver glitter to fill in some of the tiny areas to make it appear darker. {this was my preference. If you can find a darker silver glitter, this step is unnecessary}
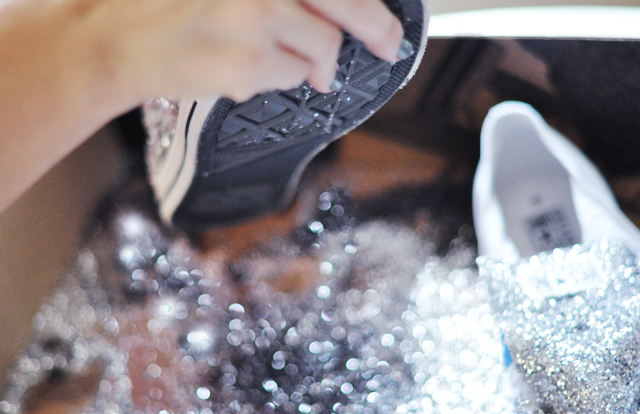
* Shake your shoe and allow the black fine glitter to settle and discard any unwanted silver glitter. If you missed any spots, now is your chance to add a little more glue and fill them in.
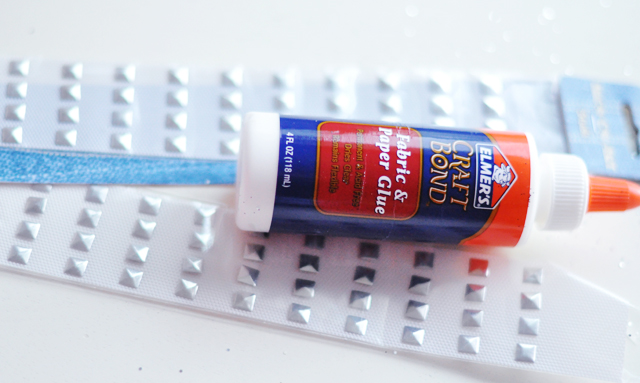
* To create a faux steel toe, I used small iron-on pyramid studs which I found at JoAnn’s a few years ago.
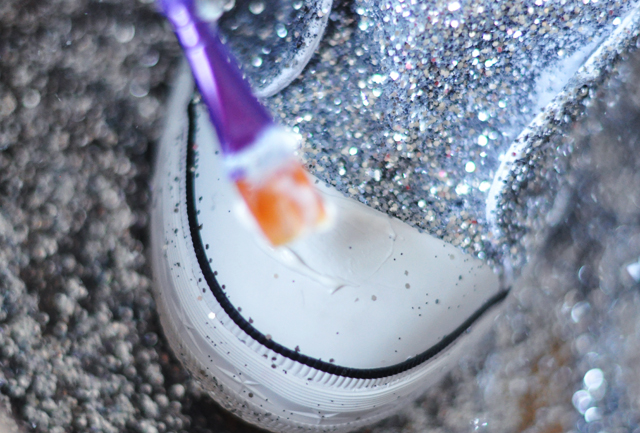
* Paint a generous amount of glue on the rubber toe of your sneaker. You’ll have to work quickly because it dries fast!

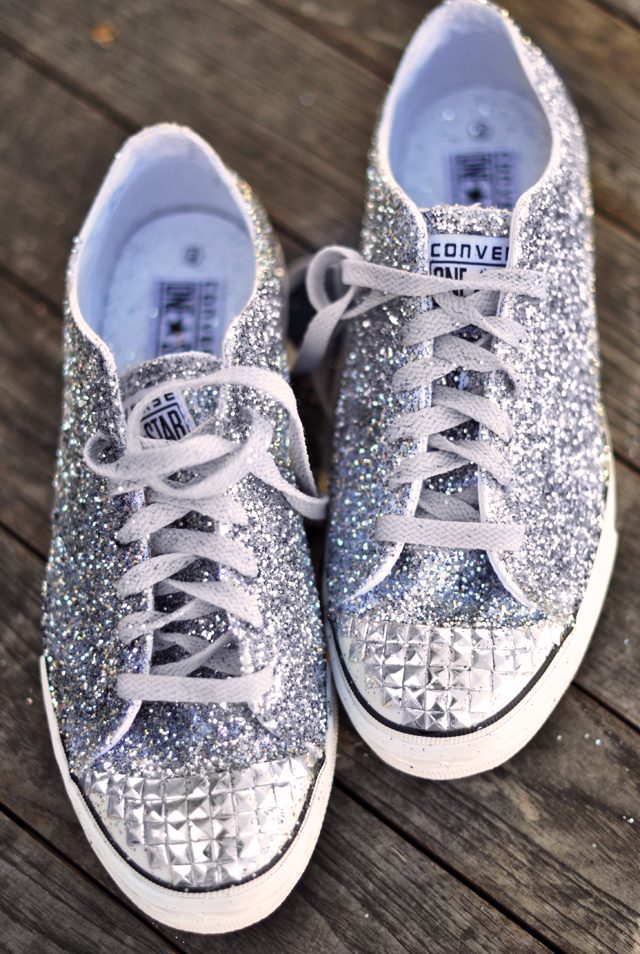
* Begin adding your studs at the center where the rubber meets the glitter and work out from there to either of the edges. Then create a sort of T by placing studs in a row down to the tip toe of your shoe and work out from there.
*I didn’t want to go over the black line around the sole so I created a bit of a pyramid effect with staggered edges.

* A pyramid with pyramid studs 😉
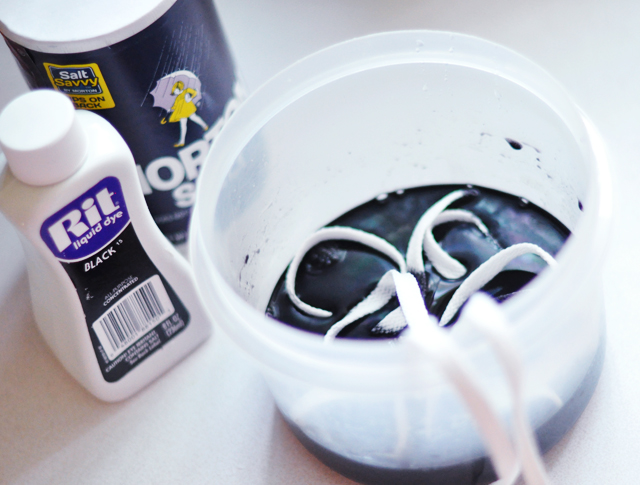
* Hoping to get a dark gray, I dyed my shoelaces black with Rit Dye. However, the dye barely took at all and left the laces a very light gray. I almost wish I just left them white. My advice if you want a darker shoe lace is to just buy them or use a satin ribbon instead.
** UPDATE ** CRUCIAL STEP **
In an attempt to really secure the glitter, I layered on another coat of glue {MOD PODGE} and another layer of glitter, then mixed the glitter in the glue and painted on ANOTHER layer and they are glittered for LIFE now!
Voila!
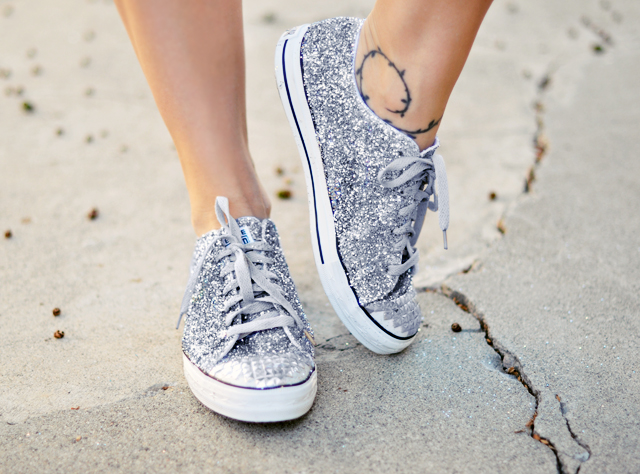
Have Fun!
* Find all my DIYs here!